Why institutions leave footprints in price
Most trading education teaches you to buy breakouts and sell breakdowns, entry points where price has already moved substantially. What Richard Wyckoff identified in the early 1900s, and what I confirmed after 8 years watching institutional order flow on an FX trading desk, is that large operators do the opposite. They buy weakness and sell into strength.
The reason is simple mechanics. A fund cannot buy $500 million of EUR/USD in a single order without moving the market against themselves. They spread purchases over days or weeks during a range-bound period, exactly when retail traders are bored and exiting losing positions. That process creates a recognizable footprint in price and volume, and reading that footprint is the core of the Wyckoff method.
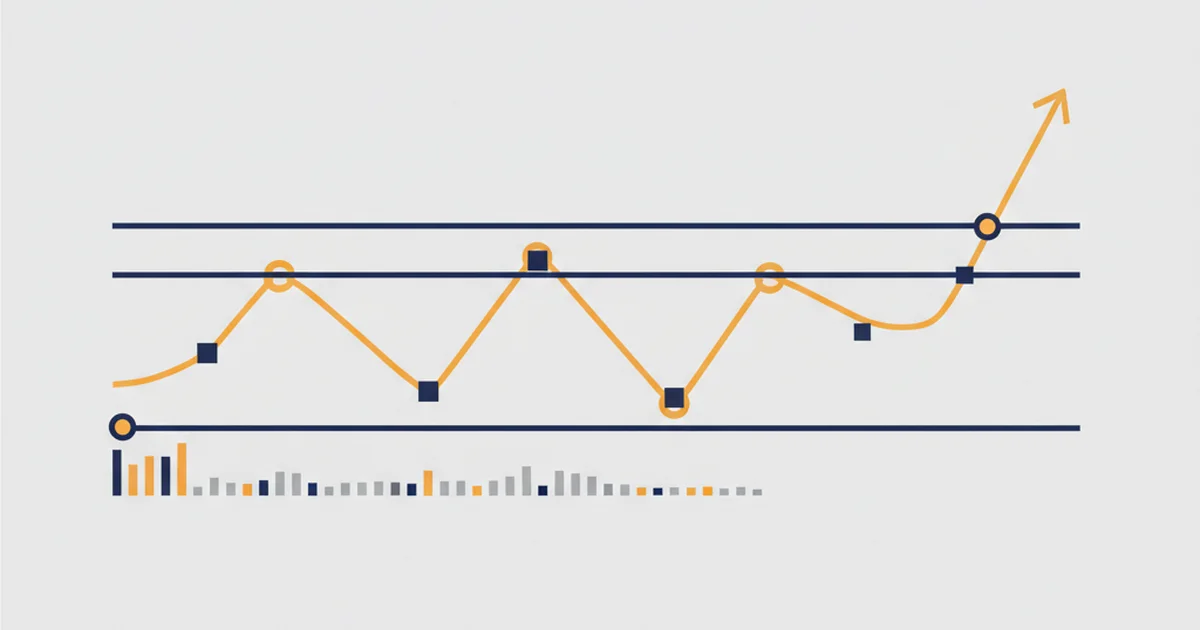
Wyckoff called the collective action of large operators the “composite man.” Whether you think of it as a single entity or the aggregate behavior of institutional desks, the concept is useful: assume someone is accumulating before the markup, distributing before the markdown, and leaving traces in every tick.
What is Wyckoff accumulation
Wyckoff accumulation happens after a sustained downtrend. The asset enters a trading range, a sideways consolidation, where price repeatedly tests a support level without breaking down decisively. During this range, the composite man absorbs supply from retail sellers who are capitulating at the lows.
The key signal: volume increases sharply on moves toward the support zone, but price does not follow through. That volume tells you demand is absorbing the selling pressure. Once supply runs out, the markup begins, a sustained upward move as demand overwhelms what’s left.
The principle Wyckoff called “cause and effect” underlies all of this. The accumulation range is the cause. Its duration and depth determine the size of the markup effect. A shallow, quick range produces a modest move. A wide, multi-week range with substantial volume produces a major trend. That proportionality makes Wyckoff analytically useful beyond just pattern recognition.
What is Wyckoff distribution
Distribution is accumulation in reverse. After a significant uptrend, institutions need to exit large positions. They create a trading range near the highs while distributing their holdings to retail buyers who are chasing the trend.
The signal: volume increases on rallies toward resistance, but price can’t close above it cleanly. That failed momentum shows supply overwhelming demand. Once institutions have distributed enough, the markdown begins.
Gold’s recent extended bull run illustrated this clearly. After XAU/USD ran from the $2,800 zone toward $3,200, I watched price consolidate for several weeks below a key resistance level. High-volume rallies into that level with weak closes told the story: distribution in progress. Positioning short during the LPSY phase (Phase D, explained below) and holding through the correction produced one of the cleaner distribution trades I’ve taken outside EUR/USD. The trade was on my live account, sized at 0.5% risk per the setup’s confirmation level.
The 5 phases of Wyckoff accumulation
The accumulation schematic breaks into five phases, each defined by specific price and volume events. Understanding each phase in sequence is what separates Wyckoff analysis from generic “support and resistance bounce” trading.
Phase A: Stopping the downtrend
The prior downtrend ends here. Four specific events define Phase A:
- Preliminary Support (PS): the first significant buying response after a long decline. Volume picks up, candle closes improve, but no reversal has been confirmed. This is often dismissed by retail traders as “just a bounce”
- Selling Climax (SC): a sharp, high-volume drop followed by rapid recovery. Climactic panic selling from retail participants who can’t hold positions anymore. The close is typically well above the wick low. This event marks the potential low of the accumulation range
- Automatic Rally (AR): the bounce after the SC, driven by short-covering and new buyers attracted by the deep discount. The AR high becomes the upper boundary of the trading range
- Secondary Test (ST): price returns to the SC area on noticeably lower volume, confirming the prior low holds. Multiple STs are normal and reinforce the support zone
After Phase A, the accumulation range is defined: support at the SC/ST area, resistance at the AR high.
Phase B: Building the cause
Phase B is the longest and most frustrating phase. Price oscillates between the SC low and the AR high as institutions quietly accumulate. Expect multiple tests of both boundaries on declining overall volatility. Volume gradually decreases on down swings toward support, confirming that supply is being absorbed rather than increasing.
During Phase B, you will see sharp moves that look like breakouts in both directions. These shakeouts serve a purpose: they force retail traders to abandon positions at the worst moments. After 8 years on a desk, I can tell you that retail entries during Phase B are almost always backwards. They sell the tests of support (thinking breakdown) and buy the tests of resistance (thinking breakout), the exact opposite of what the composite man is doing.
A EUR/USD accumulation I tracked over a five-month period spent nearly three months in Phase B, a sideways chop that most retail traders exited in frustration. That patience was rewarded with a 500-pip markup once Phase C arrived and the structure resolved.
Phase C: The spring
The spring is the single most important event in Wyckoff analysis. Price briefly penetrates below the Phase A lows on declining volume, then recovers sharply back into the range. This false breakdown serves one purpose: flushing out the last remaining short sellers and weak longs at low prices so institutions can complete their accumulation before markup begins.
A confirmed spring has three characteristics:
- The break below Phase A support occurs on volume 30-40% lower than the original SC
- Price recovers back above the support level within 1-2 candles
- The close is inside the range, not at new lows
The volume divergence is the tell. If the spring occurs on high volume and price doesn’t recover quickly, it’s not a spring. It’s a genuine breakdown. This distinction matters enormously. I’ve seen traders call every support test a spring, get long repeatedly, and wonder why the method “doesn’t work.” The volume confirmation requirement eliminates most false signals.
Phase D: Trend within the range
After the spring, the character of price action changes. You see higher highs and higher lows forming inside the range for the first time. Two key events define Phase D:
The Last Point of Support (LPS) is a pullback after the spring that holds above the spring low. Multiple LPS formations, each on declining volume, confirm that supply is exhausted and demand is in control.
The Sign of Strength (SOS) is a high-volume rally that tests or breaks above the AR high from Phase A. This is confirmation that accumulation is complete and markup is imminent.
Phase D is where I prefer to enter rather than waiting for Phase E. The LPS entry gives defined risk (stop below the spring low), reasonable confirmation (the holding of higher lows), and participation from near the beginning of the markup.
Phase E: Markup
Price exits the range upside on expanding volume. The markup phase has begun. Early pullbacks are shallow and on declining volume, buying opportunities rather than signs of distribution. Markup continues until the next distribution range forms at higher prices.
Retail traders commonly try to short early Phase E moves because price “has gone too far.” Wyckoff logic says the opposite: Phase E is the phase where the cause built in accumulation expresses itself. Fading it means trading against the accumulated institutional position.
The 5 phases of Wyckoff distribution
Distribution mirrors accumulation phase by phase:
- Phase A: stopping the uptrend. Preliminary Supply (PSY), Buying Climax (BC), Automatic Reaction (ARxn, the sharp sell-off from the BC), Secondary Test (ST at the highs)
- Phase B: range-building at the highs. Multiple tests of resistance with increasing volume but weakening closes. Institutions distribute to retail buyers
- Phase C: Upthrust After Distribution (UTAD). The false breakout above resistance that traps retail buyers and shakeouts weak distribution sellers, the mirror of the spring
- Phase D: lower highs and lower lows forming within the range. Last Point of Supply (LPSY), failed rally attempts on declining volume
- Phase E: markdown begins. Price exits the range downside on expanding volume
The cleanest distribution entry is shorting the LPSY in Phase D, with a stop above the UTAD high and a target at the AR low from Phase A.
Trading Wyckoff: entries, stops, and targets
Accumulation entries and position sizing:
The spring entry gives the tightest risk. Enter at the close of the spring candle or the next candle open, stop placed below the spring low. On my $1,200 live Exness account, using 1% risk per trade on EUR/USD 4H translates to approximately 0.02 lots with a 50-pip stop, enough room for the setup to work without excessive exposure.
The LPS entry in Phase D offers more confirmation at slightly wider risk. Enter on the close of a strong bullish candle that ends a shallow pullback, stop below the LPS low. If multiple LPS formations appear, the second or third is typically the cleanest entry as the pattern becomes more defined.
Distribution entries:
Short the UTAD aggressively with stop above the wick high. Or wait for Phase D LPSY confirmation: short a failed rally attempt on declining volume, stop above the LPSY high. The LPSY entry gives up some profit versus the UTAD but reduces false signals.
Target calculation:
Wyckoff’s cause-and-effect principle suggests the markup distance is proportional to the cause. A simple approach: use the height of the trading range as a minimum target from the Phase E breakout. A range spanning 200 pips produces a minimum markup target of 200 pips from the breakout point. Longer Phase B periods justify projecting larger moves.
I typically scale out of positions: exit half at the range-height target, hold the remainder toward 2× the range for trending continuation. On the EUR/USD swing I referenced above, the 5-month accumulation range height projected a 480-pip target. The actual markup exceeded 500 pips before the next distribution.
Applying Wyckoff across timeframes
Wyckoff works best when it confirms across multiple timeframes. The process I follow:
- Weekly chart: is this a major accumulation cycle forming at a significant structural low, or a minor range within an ongoing trend?
- Daily chart: map the five phases explicitly. Identify the spring or UTAD. Confirm volume characteristics at each phase event
- 4H chart: locate the LPS or LPSY. This is where the entry order goes
- 1H chart: refine the entry candle for tighter stop placement
The timeframe hierarchy matters because the same price action can look like accumulation on the 15-minute and distribution on the daily. Higher timeframe context always wins. A spring on the 1-hour chart occurring during a Phase D markdown on the weekly is not an accumulation entry. It’s a counter-trend scalp at best.
Wyckoff analysis pairs naturally with price action trading. Both methods rely on reading supply and demand through raw price behavior and volume without indicator overlays. They complement each other precisely because they share the same underlying principle.
For range boundary definition, clear support and resistance levels are essential. The SC low and AR high from Phase A create the support and resistance of the accumulation range. These levels need to be clean and clearly defined on the chart for the schematic to work reliably.
Volume confirmation rules
Without volume, Wyckoff pattern identification degenerates into finding shapes in random price data. Three volume rules I apply before confirming any Wyckoff structure:
Springs must occur on declining relative volume. Compare the spring candle’s volume to the SC volume. A spring on volume equal to or greater than the SC is a red flag. The composite man should not be generating panic selling to shake out the last sellers. That shakeout should be effortless, reflected in thin volume.
SOS rallies must expand in volume. The Phase D Sign of Strength should show clearly above-average volume as price moves toward the AR high. That expansion confirms genuine buying interest, not just a short-covering bounce.
LPS pullbacks should show declining volume. Each test of support in Phase D should occur on less volume than the prior LPS. Increasing volume on LPS formations suggests supply is not yet exhausted; the spring may not have completed its work.
Forex tick volume serves as a proxy for real flow. It correlates well with institutional activity during the London and New York overlap (13:00-17:00 UTC) but degrades in quality during thin Asian sessions. For gold, COMEX futures volume is exchange-verified and provides a cleaner signal, which is why XAU/USD remains my preferred Wyckoff instrument alongside EUR/USD daily.
Wyckoff in modern algorithmic markets
A common objection: “Wyckoff was developed in the 1900s and can’t still work with algorithmic trading.”
The counter is that algorithms don’t eliminate the mechanics that create Wyckoff patterns. Algorithms must still accumulate large positions without self-adversely moving prices. The execution method may be more sophisticated (TWAP, VWAP algos, dark pools), but the footprint in price and volume remains because the fundamental constraint (large orders require time) hasn’t changed.
What has changed: the spring false breakdown sometimes resolves faster than in Wyckoff’s era. Algos trigger stop-loss clusters precisely at Phase A lows, creating very sharp springs that recover within minutes rather than hours on daily charts. The pattern is the same; the speed is compressed. I confirmed this comparing EUR/USD Phase C events over the past two years. The spring-to-recovery duration shortened, but the volume divergence signature remained intact.
Common mistakes to avoid
Calling the spring too early. Every test of support is not a spring. A real spring requires a break below prior lows AND a sharp recovery within 1-2 candles with the close back inside the range. Grinding through support over three or four sessions is breakdown continuation, not a spring.
Exiting during Phase B. Phase B looks like nothing is happening. That sideways chop is exactly where most retail traders cut positions in frustration. If the thesis is intact, with volume declining on down moves and support holding, Phase B is a hold, not an exit. The institutional accumulation that produces the markup is happening during the period that looks most boring.
Shorting Phase E breakouts. “Price has gone too far” is the retail reflex in Phase E. Wyckoff logic says markup continues until the next distribution range forms. Fading early Phase E moves means fighting the cause that was built over weeks of accumulation.
Ignoring higher timeframe context. A spring that appears on the 4H chart may be occurring during a Phase E markdown on the weekly. Higher timeframe distributions create selling pressure that overwhelms lower timeframe accumulation attempts. Always resolve timeframe conflicts upward before entering.
Using volume incorrectly. Rising price on shrinking volume in Phase D is a warning, not confirmation. Volume should expand on SOS rallies and contract on LPS pullbacks. If the pattern reverses, reassess the structure before entering.
FAQ
What is Wyckoff accumulation in simple terms?
How do I identify a Wyckoff spring?
What's the difference between Wyckoff accumulation and distribution?
Does Wyckoff work in forex and crypto markets?
How long does a Wyckoff accumulation phase typically last?
What indicators work best with Wyckoff?
🌍 Our recommended brokers
Reader Reviews
The spring identification criteria prevented me from a significant mistake on EUR/USD last month. I saw price break below the Phase A low and was about to go short, expecting a genuine breakdown. Then I checked volume and the spring candle was 33% of the original Selling Climax volume. I flipped long on the close, set my stop below the spring low, and the position gained 190 pips over the following four days. The volume comparison requirement is not optional - it is the entire filter that separates a spring from a breakdown.
The Automatic Rally as the upper boundary of the accumulation range was something no other explanation I had read made explicit. I was drawing the top of the range at arbitrary resistance levels before - switching to the AR high from Phase A made the structure work the way the method describes.
The timeframe hierarchy section explained losses I had been taking on 4H accumulation setups for months. Each time I found a clean spring on the 4H chart, the daily was still completing a Phase D distribution from the prior cycle. Understanding that the higher timeframe structure always overrides the lower one stopped those entries completely. I applied this check to gold and the next four 4H setups all resolved in my favor.
Phase B used to be the point where I exited every accumulation trade in frustration. The sideways oscillation looked like failure rather than cause being built, and I typically cut positions somewhere in the middle of it. This article changed that by explaining exactly what Phase B looks like from the composite man's perspective - declining volume on down swings confirming supply absorption. I held my next Phase B instead of exiting and caught the full markup from the Phase D LPS entry. That single adjustment shifted my monthly results from about 3% to 7.6% over the following two months.
The cause and effect principle applied to target calculation replaced my previous habit of exiting at round numbers. I now measure the range height and use it as the minimum markup target, then scale out half at that level and hold the rest toward 2x. On a XAU/USD trade after reading this, the range height projected 185 pips from breakout - I hit that target and held the remainder to 340 pips before the next consolidation. The proportionality between accumulation duration and markup size is a genuine analytical tool, not just a description.
The three volume rules section is the most practically useful part of this article. Declining volume on LPS pullbacks, expanding volume on SOS rallies - having these as explicit pass/fail criteria instead of vague intuition eliminated my two biggest mistake types in one read.
Understanding the UTAD as the exact mirror of the spring clicked the distribution side into place. I had studied accumulation for years but kept struggling with Phase C in distribution because I didn't see the symmetry. Both events shake out the last opposing positions before the major move. After applying this to LPSY short entries in Phase D, my distribution setups started working the same way my accumulation setups already did.
After eighteen months of calling every support test a spring and wondering why the method seemed unreliable, the 30-40% volume threshold against the Selling Climax was the missing filter. I went back through my trade log and found that every failed spring entry had spring volume equal to or above the SC. Every confirmed spring entry had spring volume at 35% or less. The method had been consistent all along - I was classifying false breakdowns as springs and expecting reversals that were never coming. Since applying the volume comparison rule, I've had zero false spring entries over three months of trading the 4H EUR/USD setup.
Leave a Review

Forex Analyst & Senior Trader
Former FX desk trader with 8 years in institutional forex. Works in multi-timeframe analysis and order flow, turning desk experience into systematic, testable rules across forex and metals.